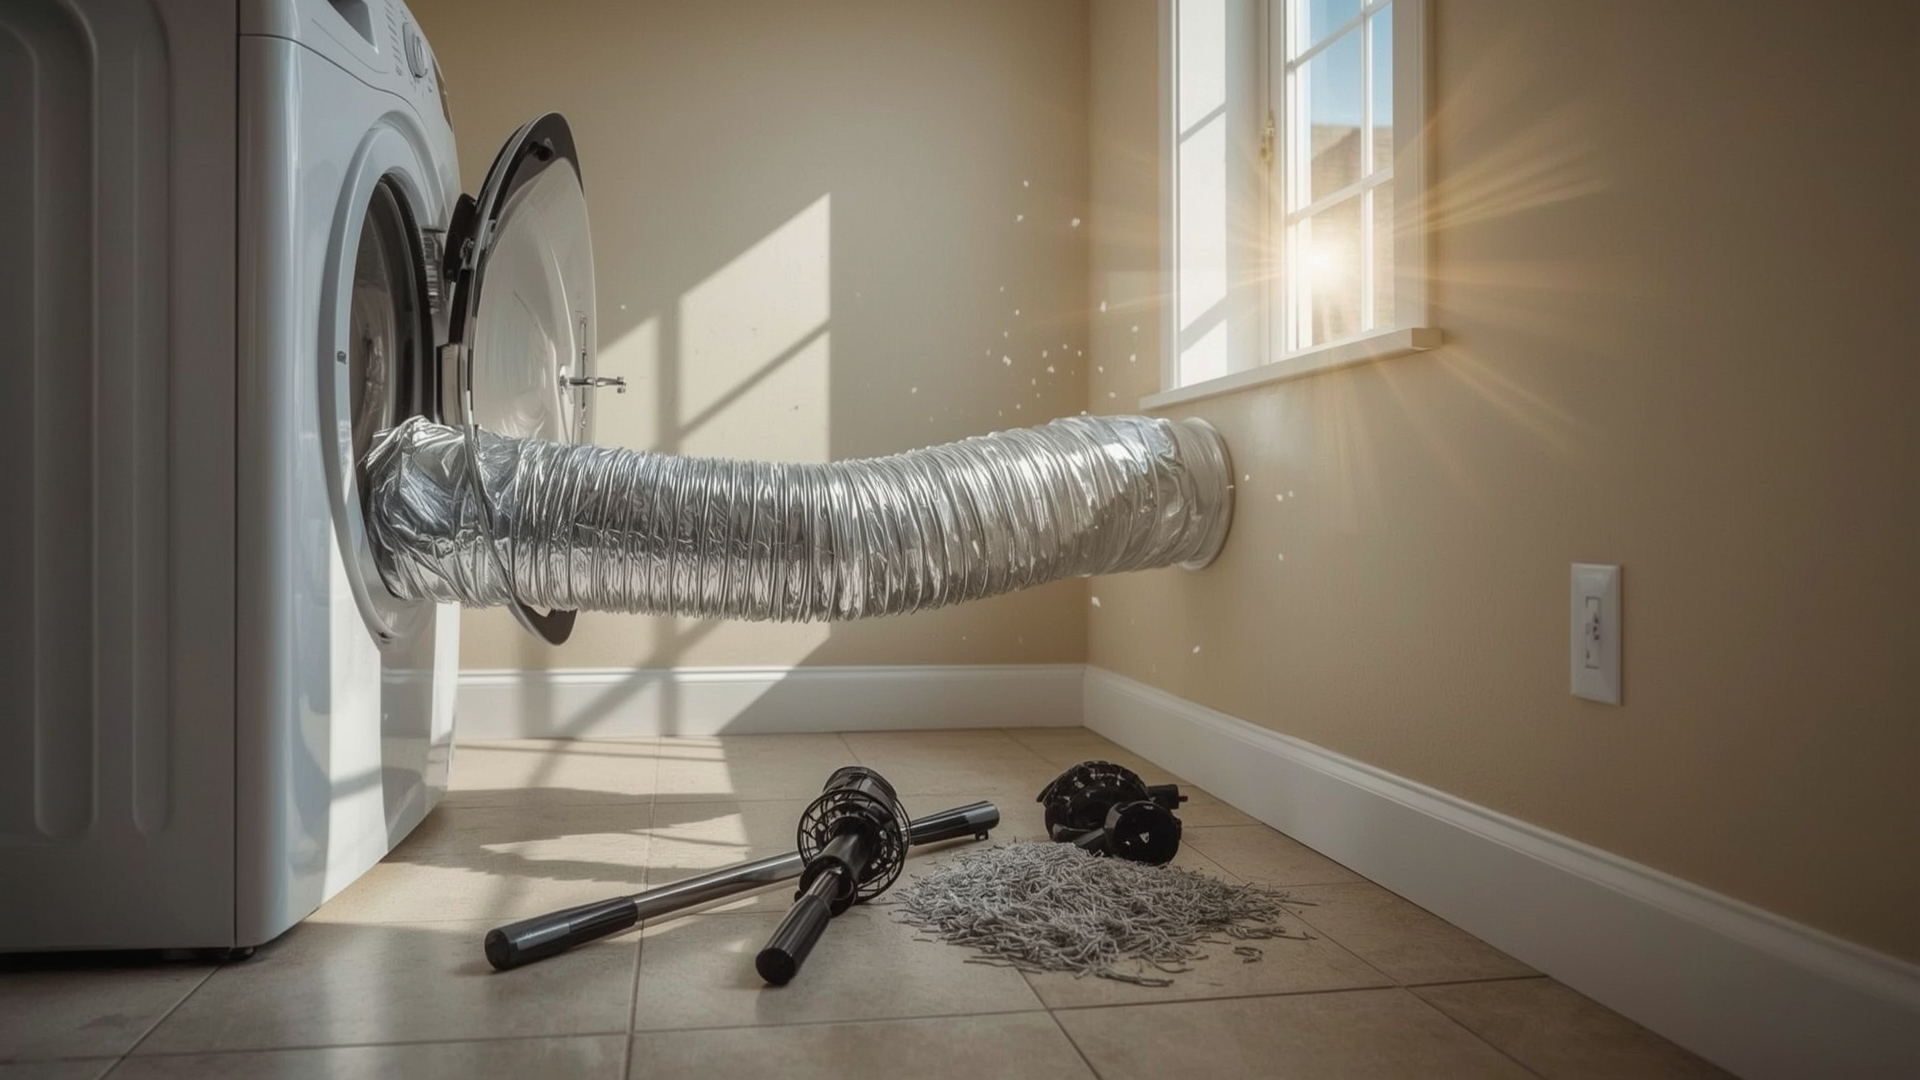
A clogged dryer vent duct is one of the most common causes of house fires in the United States. Lint builds up inside the duct every time you run a load. Over time, that buildup restricts airflow, makes your dryer work harder, and creates a serious fire hazard. The good news is that cleaning the vent duct yourself takes less than an hour and costs very little.
This guide walks you through the entire process, from safely disconnecting your dryer to clearing lint from long duct runs, using a standard dryer vent brush kit.
Key Takeaways
- Clean your dryer vent duct at least once a year to prevent lint fires and keep your dryer running efficiently.
- A dryer vent brush kit with flexible rod extensions is the right tool for most home duct runs.
- Always unplug the dryer (and shut off the gas valve for gas dryers) before disconnecting anything.
- Signs of a clogged vent include longer drying times, a hot dryer exterior, and a burning smell during operation.
- Rigid metal duct is safer than flexible foil because it collects less lint and handles heat better.
- Duct runs longer than 25 feet may require a professional cleaning or a booster fan to maintain safe airflow.
Why Is Cleaning Your Dryer Vent Duct So Important?
Quick Answer: Lint is highly flammable and builds up inside dryer vent ducts over time. A clogged duct restricts airflow, causes overheating, and is a leading cause of residential fires. Cleaning it once a year dramatically lowers that risk.
The U.S. Fire Administration reports that dryers cause roughly 2,900 home fires each year. Failure to clean the dryer vent is the leading cause. Lint is not just dusty and annoying. It is extremely combustible, and the heat from a running dryer is enough to ignite it if airflow is blocked.
Beyond fire safety, a clogged duct forces your dryer to run longer to dry the same load. That drives up your energy bill and shortens the life of the appliance. A clean vent duct pays for itself quickly.
What Are the Warning Signs of a Clogged Dryer Vent?
You do not always need to see lint to know there is a problem. Watch for these signs between annual cleanings.
- Clothes take more than one cycle to dry fully
- The dryer feels very hot to the touch on the outside
- You smell something burning while the dryer is running
- The laundry room feels unusually humid or hot
- The exterior vent flap (the damper outside your home) barely opens when the dryer is running
- Lint appears around the duct connection or behind the dryer
Any one of these is a reason to stop running the dryer and clean the vent before the next load.
What Tools Do You Need to Clean a Dryer Vent Duct?

Quick Answer: You need a dryer vent brush kit with flexible rod extensions, a vacuum with a hose attachment, a screwdriver, foil duct tape, and a flashlight. Most kits cost between $20 and $50 and handle duct runs up to 12 feet per brush section.
| Tool | Type | Cost Range | Key Attribute | Best For |
|---|---|---|---|---|
| Dryer Vent Brush Kit | Flexible rod + brush head | $20–$50 | Extends to 12–24 ft with rods | Most residential duct runs |
| Drill-Powered Brush | Rod kit + power drill attachment | $25–$60 | Spins brush for deeper cleaning | Long or heavily clogged ducts |
| Shop Vacuum / Wet-Dry Vac | High-suction canister vacuum | $40–$120 | Captures loose lint during cleaning | All duct runs |
| Foil Duct Tape | Aluminum foil tape (not cloth) | $8–$15/roll | Heat-rated, seals duct joints | Reconnecting duct sections |
| Flathead Screwdriver | Standard hand tool | $3–$10 | Loosens duct clamps and hose clamps | Disconnecting duct from dryer |
| Flashlight or Headlamp | LED lighting tool | $10–$30 | Illuminates duct interior and behind dryer | Inspection before and after |
Use foil duct tape (aluminum tape) when resealing the duct, not standard cloth duct tape. Cloth tape dries out and peels inside hot ducts. Foil tape is heat-rated and stays sealed.
How Do You Safely Disconnect the Dryer Before Cleaning?
Quick Answer: Unplug the dryer from the wall outlet first. For gas dryers, turn the gas shutoff valve to the off position. Then pull the dryer away from the wall and loosen the clamp where the flexible transition hose meets the dryer exhaust port.
Step 1: Cut Power to the Dryer
Unplug the dryer from the wall outlet before you touch anything else. Electric dryers run on a 240-volt circuit, which can cause serious injury if handled incorrectly. Do not skip this step.
For a gas dryer, locate the gas shutoff valve on the supply line behind the appliance. Turn it perpendicular to the pipe to close it. The valve is closed when the handle is at a 90-degree angle from the pipe.
Step 2: Pull the Dryer Away from the Wall
Slide the dryer forward carefully. Most dryers sit on a smooth floor, but if yours is on a pedestal or tile, use an appliance dolly to avoid scratching the surface. You need about 18 to 24 inches of clearance behind the unit to work comfortably.
Be careful not to pull too hard. The transition duct (the short, flexible section connecting the dryer to the wall duct) will still be attached at the back of the dryer. Pulling the dryer too far can rip the transition duct or damage the exhaust port.
Step 3: Disconnect the Transition Duct
The transition duct connects the dryer exhaust port to the wall duct opening. It is usually held in place by a hose clamp (a metal band tightened with a screw). Loosen the clamp with a flathead screwdriver and slide the duct off the port.
Set the transition duct aside. Inspect it for tears, kinks, or excessive lint buildup. If it is the foil accordion type and heavily kinked, this is a good time to replace it with rigid metal duct or semi-rigid aluminum. Kinked ducts trap lint and restrict airflow.
How Do You Use a Dryer Vent Brush Kit to Clean the Duct?
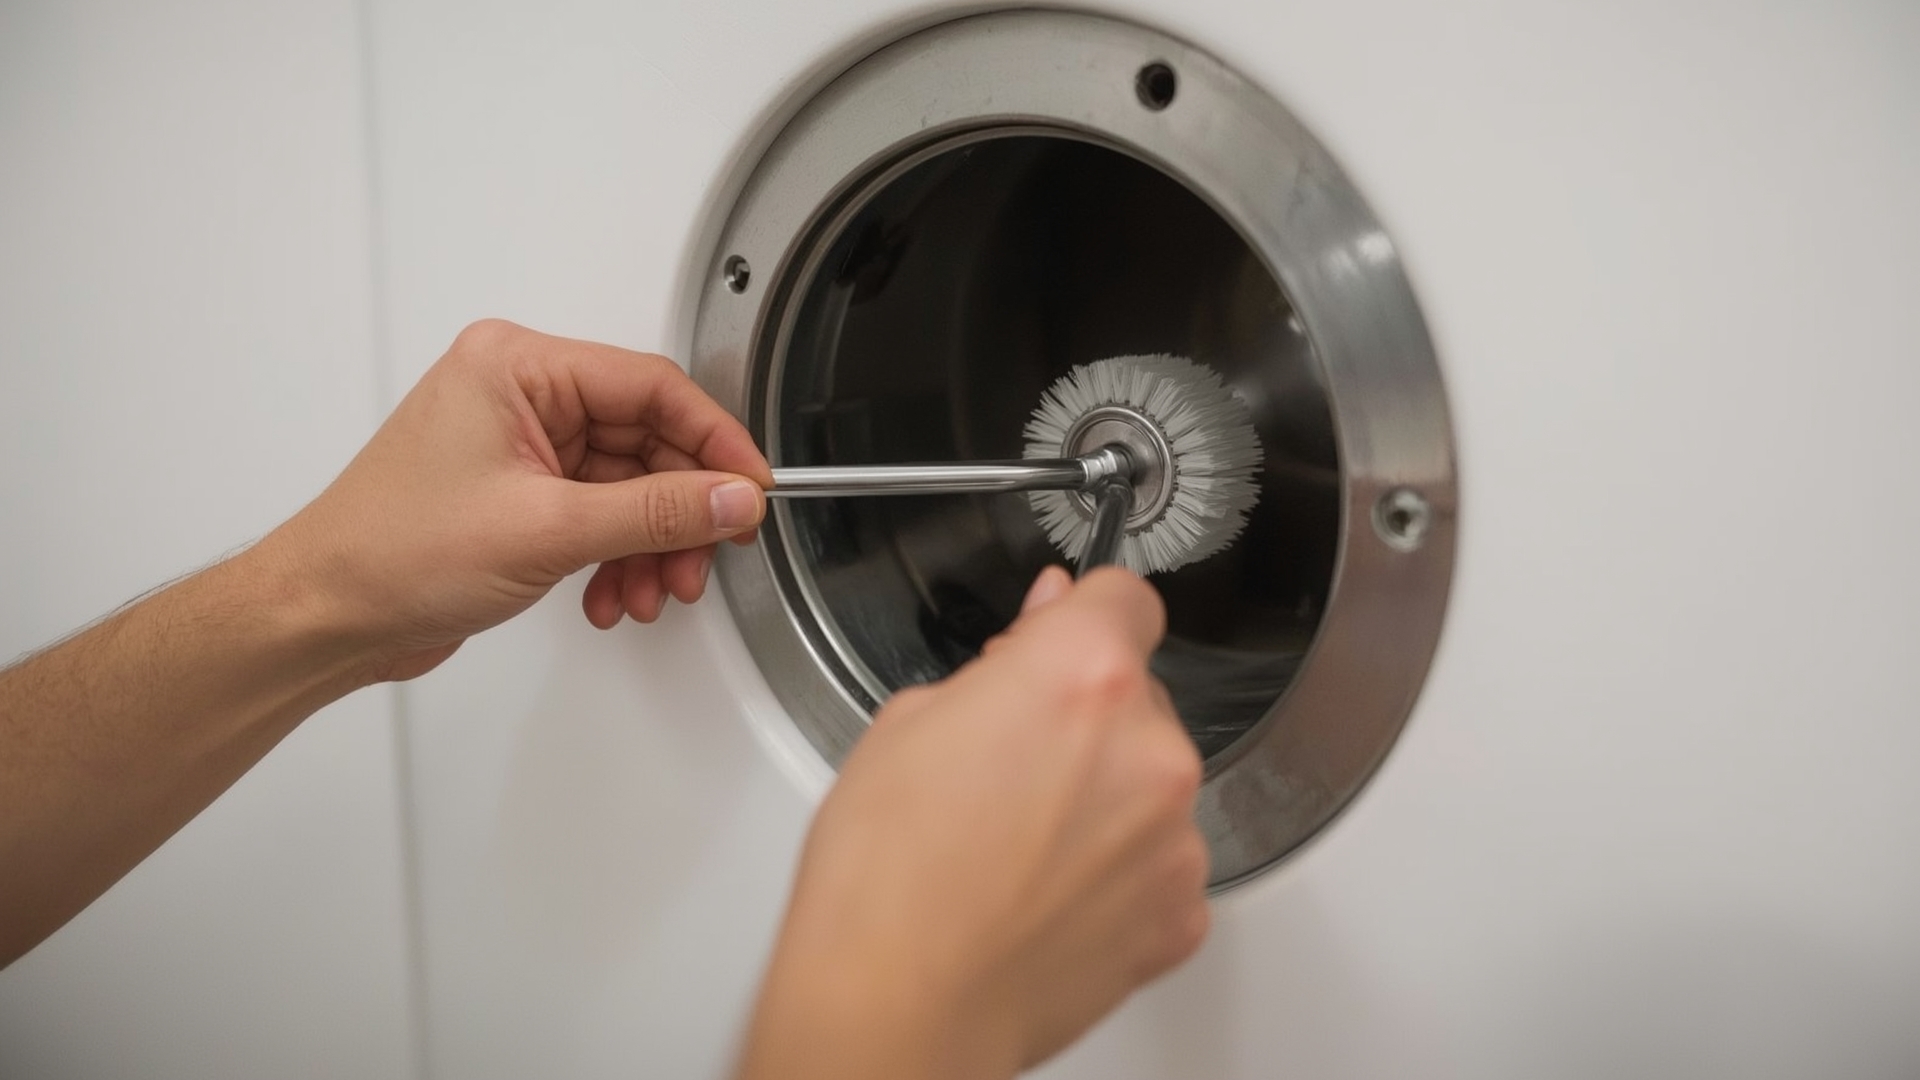
Quick Answer: Attach the brush head to the first flexible rod. Insert it into the duct opening and push it forward while rotating. Add rod extensions as needed to reach the full length of the duct. Pull back slowly to drag lint out, then vacuum the opening.
Step 4: Insert the Brush from the Interior Wall Opening
Start from the interior wall opening (where the duct meets the wall behind the dryer). Insert the brush head first and push it into the duct. Rotate the brush gently as you push. The spinning action loosens lint clinging to the duct walls.
Most brush kits come with multiple rod sections that connect end to end. Each section typically adds 12 inches to 24 inches of reach. Thread in additional rods as the brush moves deeper into the duct.
Step 5: Work the Brush Through the Full Duct Run
Push the brush all the way through until you feel it reach the exterior vent flap (the damper at the outside of your home). You can have someone stand outside to confirm when the brush exits. This confirms the duct is clear end to end.
If the brush stops and will not advance, do not force it. A hard stop usually means a tight turn, a broken duct joint, or a heavy clog. Withdraw the brush, vacuum the opening, and try again slowly. If it still will not pass, the duct may need professional inspection.
Step 6: Withdraw the Brush and Collect Lint
Pull the brush back slowly while continuing to rotate it. This action drags loosened lint back toward the wall opening. Have your vacuum ready at the opening to capture lint as it falls out.
After the first pass, remove the brush, vacuum the wall opening thoroughly, and do a second pass if you had a heavy buildup. Two passes is standard practice for a duct that has gone more than two years without cleaning.
Step 7: Clean the Exterior Vent from Outside
Walk to the exterior vent on the outside of your home. Remove the vent cover if it detaches, or hold the flap open with one hand. Use the brush to clear any lint packed near the vent opening. Lint near the exterior often gets compressed into a dense plug that the interior pass alone will not fully dislodge.
Check that the damper flap (the small hinged cover that opens when the dryer runs) moves freely. A stuck damper restricts airflow almost as much as lint does. Gently clean the hinge area with a dry rag if needed.
How Do You Handle Duct Runs Longer Than 25 Feet?
Quick Answer: Duct runs over 25 feet lose enough airflow to cause drying problems even when clean. Most brush kits reach up to 24 feet. For longer runs, clean from both ends, use a drill-powered brush, or hire a professional with an industrial lint vacuum.
| Duct Run Length | DIY Brush Kit Effective? | Max Recommended Length Per Code | Deduction for Each 90° Elbow | Recommended Action |
|---|---|---|---|---|
| Under 15 ft | Yes, single pass | 25 ft (standard) | 5 ft per elbow | Standard DIY cleaning |
| 15–25 ft | Yes, with full rod kit | 25 ft (standard) | 5 ft per elbow | Clean from both ends |
| 25–35 ft | Partial, limited reach | Exceeds standard limit | 5 ft per elbow | Drill-powered brush or professional |
| Over 35 ft | No | Exceeds standard limit | 5 ft per elbow | Professional cleaning + booster fan review |
The International Residential Code (IRC) sets a maximum dryer duct length of 25 feet. Every 90-degree elbow in the duct reduces the effective length by 5 feet. So a 20-foot duct with two elbows is functionally equivalent to a 30-foot straight run. If your duct approaches or exceeds these limits, consider rerouting the duct or installing an in-line dryer booster fan to maintain adequate airflow.
How Do You Clean a Dryer Vent Duct from Both Ends?
If your duct run is long or has multiple elbows, clean from the exterior vent opening as well. Remove the exterior vent cover, insert the brush from outside, and push inward. This second pass reaches sections the interior approach may have missed.
Coordinate with someone indoors to vacuum the interior wall opening while you push lint back from the outside. This two-person approach is the most effective DIY method for longer runs.
What Type of Dryer Duct Material Is Safest?
Quick Answer: Rigid metal duct (galvanized steel or aluminum) is the safest option. It does not crush or kink, resists heat, and collects significantly less lint than flexible foil accordion duct. Most building codes require rigid or semi-rigid metal for concealed runs.
| Material | Fire Safety Rating | Lint Accumulation | Allowed for Concealed Runs? | Typical Cost per Foot | Lifespan |
|---|---|---|---|---|---|
| Rigid Galvanized Steel | Highest | Low (smooth interior) | Yes | $3–$6 | 20–30 years |
| Semi-Rigid Aluminum | High | Low to moderate | Yes (most codes) | $2–$5 | 10–20 years |
| Flexible Aluminum Foil | Moderate | High (ridged interior) | Transition section only | $1–$3 | 3–5 years |
| Plastic / Vinyl Duct | Not rated / prohibited | Very high (static charge) | No (banned in most codes) | $0.50–$1.50 | Not recommended |
If you have plastic or vinyl duct anywhere in your system, replace it immediately. It is prohibited by most local building codes and creates a serious fire risk. Flexible foil accordion duct is acceptable only for the short transition section (under 8 feet) between the dryer and the wall.
How Do You Reconnect the Dryer and Test the Vent After Cleaning?

Quick Answer: Slide the transition duct back onto the dryer exhaust port, tighten the hose clamp, and seal any duct joints with foil tape. Push the dryer back into position, restore power or gas, run the dryer on air-only for 10 minutes, and check the exterior vent flap for steady airflow.
Step 8: Reconnect and Seal the Duct
Slide the transition duct back onto the dryer exhaust port. Make sure it is seated fully before tightening the hose clamp. A loose connection is a significant lint and fire hazard. Wrap any exposed duct joints with foil duct tape to seal gaps.
Do not use sheet metal screws on duct joints inside the duct interior. Screws catch lint and create buildup points. Use foil tape only for all interior joints.
Step 9: Restore Power and Run a Test Cycle
Push the dryer back into place carefully. Plug it back in (or reopen the gas valve for gas dryers). Run the dryer on a low-heat or air-only cycle for 10 minutes. Go outside and hold your hand near the exterior vent. You should feel a strong, steady airflow coming out.
If the airflow feels weak or you notice the dryer exterior getting hot quickly, re-inspect the duct connections. A loose joint or a missed lint clog can cause the same problem you started with.
How Often Should You Clean a Dryer Vent Duct?
Quick Answer: Most households should clean the dryer vent duct once a year. Households that do large loads daily, dry pet bedding frequently, or have long duct runs should clean every 6 months. Always clean after noticing any warning signs, regardless of schedule.
| Household Type | Average Weekly Loads | Recommended Cleaning Frequency | Extra Risk Factor |
|---|---|---|---|
| Single person or couple | 2–4 loads | Once a year | Low baseline risk |
| Family of 4 | 6–10 loads | Once a year (minimum) | Moderate lint volume |
| Large family or frequent laundry | 10+ loads | Every 6 months | High lint accumulation rate |
| Pet owner (drying pet items) | Variable | Every 6 months | Pet hair clogs lint trap fast |
| Long duct run (over 20 ft) | Any | Every 6 months | Reduced airflow increases buildup rate |
Should You Also Clean the Lint Trap Housing?
The lint trap (the screen you pull out before each load) catches most lint. But fine particles pass through and collect in the lint trap housing, which is the slot the screen slides into. Once a year, use a long, narrow brush to clean inside the housing. Some vacuum kits include a crevice tool designed specifically for this.
Wash the lint screen itself with warm soapy water every few months. Fabric softener residue builds up on the mesh and restricts airflow even when the screen looks clean. Hold the wet screen up to the light to see if water passes through freely.
When Should You Call a Professional to Clean Your Dryer Vent?
Quick Answer: Call a professional if the duct run exceeds 25 feet, if the brush cannot advance through the duct, if you find damaged or disconnected duct sections, or if the dryer still performs poorly after a DIY cleaning. Professional dryer vent cleaning costs $80 to $200 for most homes.
Professional dryer vent cleaners use industrial-grade rotary brush systems and high-powered vacuums that attach directly to the duct. They can clear compacted lint plugs that manual brush kits cannot reach. They also inspect the full duct run for damage, disconnections, and code violations.
If your duct runs through a finished ceiling or wall and is completely inaccessible, a professional with a camera inspection tool may be your only option for a thorough cleaning.
What Does a Professional Dryer Vent Cleaning Include?
- Rotary brush cleaning of the full duct run from interior to exterior
- Industrial vacuum connected to duct to capture all lint during cleaning
- Visual or camera inspection of duct for damage, disconnections, or kinks
- Exterior vent cover cleaning and damper function check
- Written report of duct length, condition, and any code concerns
Frequently Asked Questions About Cleaning a Dryer Vent Duct
Can a clogged dryer vent cause carbon monoxide poisoning?
Yes, but only with gas dryers. A blocked vent on a gas dryer can cause combustion gases, including carbon monoxide, to back up into the laundry room. Electric dryers do not produce carbon monoxide, but they still pose a fire hazard when the vent is clogged. Install a carbon monoxide detector near your gas dryer as an added safety measure.
How long does it take to clean a dryer vent duct yourself?
Most DIY cleanings take 30 to 60 minutes for a standard duct run under 20 feet. Longer runs or heavily clogged ducts can take up to 90 minutes. First-time cleanings tend to take longer because you are learning the duct layout as you go.
Is it safe to use a leaf blower to clean a dryer vent?
A leaf blower can push loose lint toward the exterior vent, but it does not scrub lint from the duct walls the way a brush does. It also scatters fine lint particles throughout the duct and into the laundry room. A brush kit is far more effective and does not create a dust cloud indoors.
What is the difference between a dryer vent and a dryer duct?
The terms are often used interchangeably. Technically, the duct is the pipe system running from the dryer exhaust port to the exterior of the home. The vent is the opening at the exterior wall where air exits. Cleaning the duct means cleaning the full pipe run, including the vent opening at the end.
Does a dryer vent need to vent to the outside?
Yes, always. Dryer vents must exhaust to the exterior of the home. Venting into an attic, crawlspace, or wall cavity deposits moisture and lint where they can cause mold growth and structural damage. Indoor dryer vent kits (which exhaust into a water bucket) are not recommended for gas dryers and are only a temporary solution for electric dryers in very specific situations.
Can I use a regular vacuum instead of a shop vacuum to clean the dryer vent duct?
A regular household vacuum can handle light lint near the duct opening. For deeper cleaning, a shop vacuum is far more effective because it has stronger suction and a larger canister. A regular vacuum can also overheat or clog if it pulls in large amounts of lint. Use a shop vacuum if you have one available.