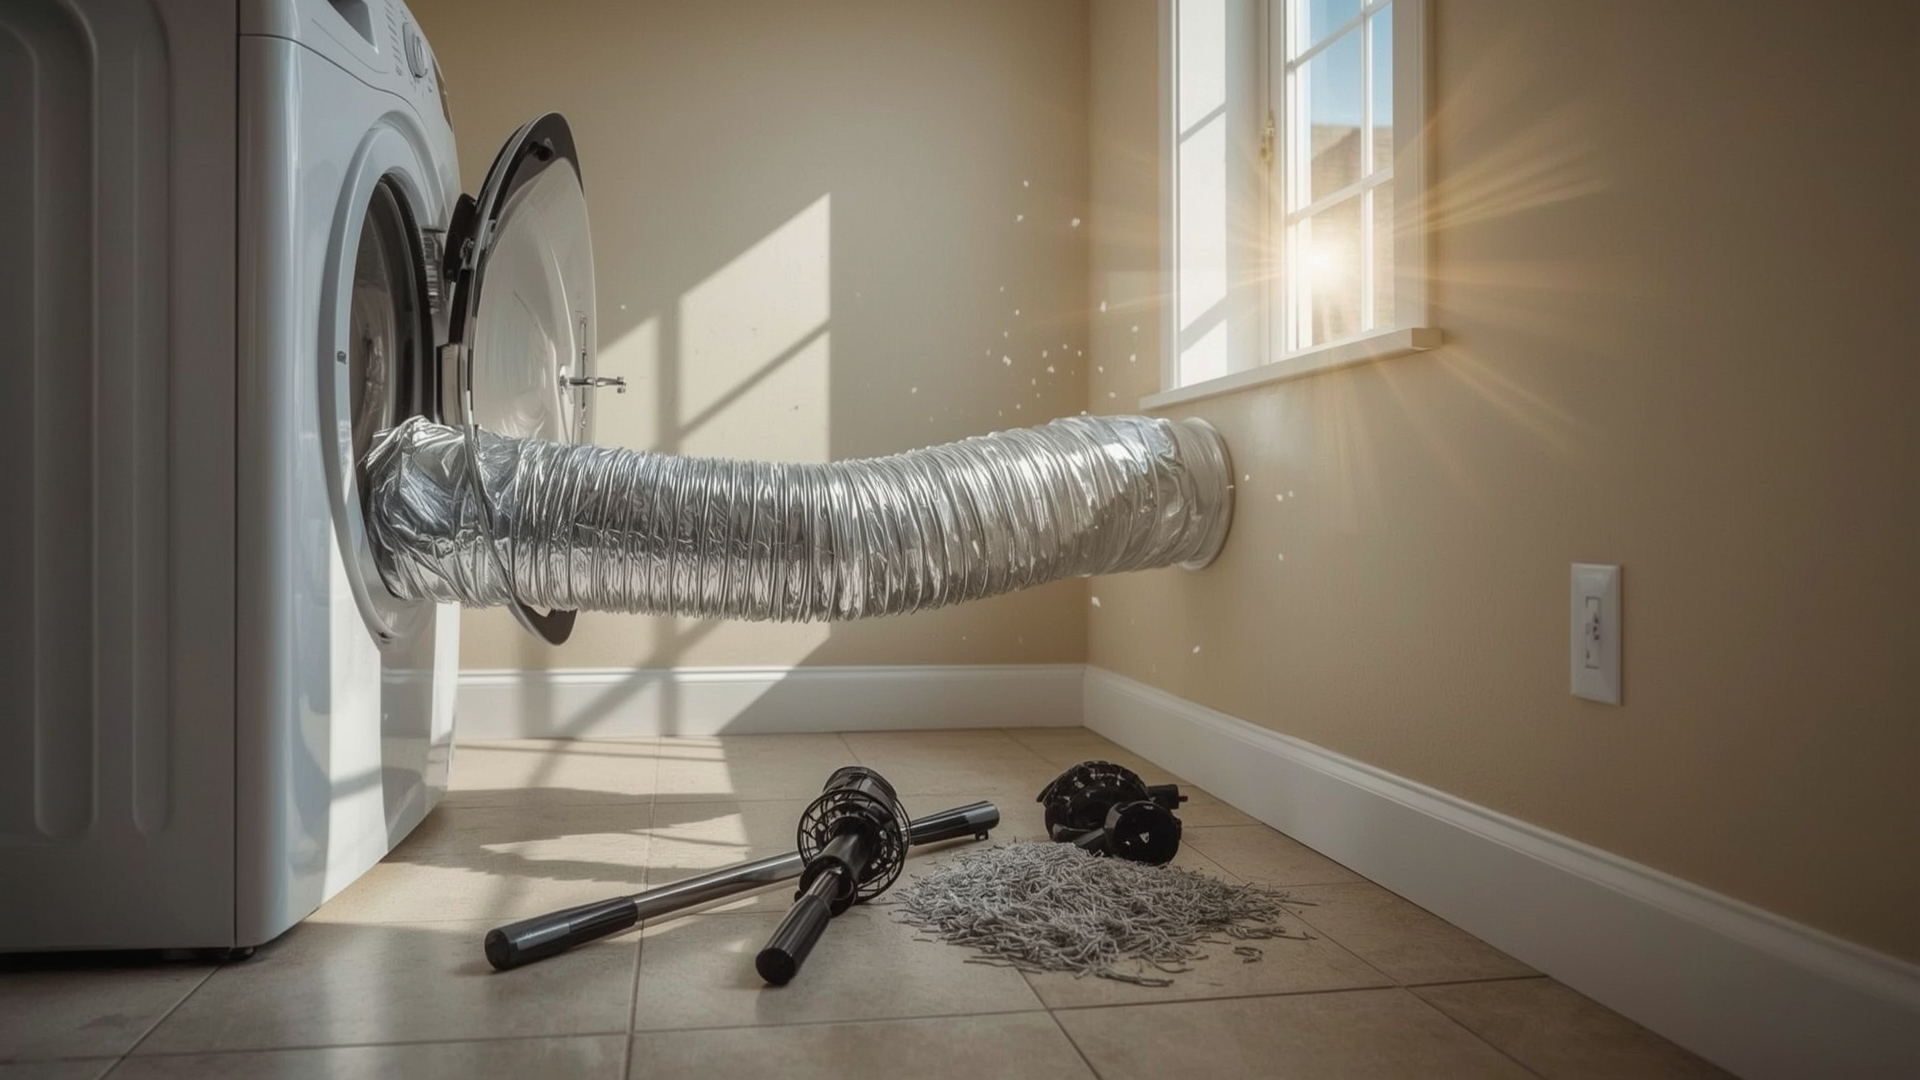
Dirty refrigerator coils are one of the most overlooked causes of high energy bills and early appliance failure. When coils are clogged with dust, pet hair, and debris, your fridge works harder than it should. That extra strain raises your electricity costs and shortens the life of your compressor.
The good news: cleaning refrigerator coils takes less than 30 minutes, costs nothing if you already own a vacuum, and only needs to happen once or twice a year. This guide walks you through every step — from finding the coils to finishing the job safely.
Key Takeaways
- Coil location matters: Coils are either on the back of the fridge or behind a grille at the bottom front, depending on your model.
- Unplug first, always: Disconnect power before touching any coils or components to avoid electrical hazard.
- A coil brush and vacuum do the job: You don’t need special chemicals — just the right physical tools.
- Clean every 6 to 12 months: Pet owners and households with heavy dust should clean closer to every 6 months.
- Dirty coils cost you money: Clogged coils can increase energy use by up to 30% according to appliance efficiency data.
- The whole job takes 20 to 30 minutes: Most of that time is moving the fridge and vacuuming the floor after.
What Are Refrigerator Coils and Why Do They Get Dirty?
Quick Answer: Refrigerator coils are metal tubes that release heat from inside the fridge into the surrounding air. Over time, dust, pet hair, and grease collect on them. This buildup blocks heat transfer and forces the compressor to run longer and harder.
Your refrigerator works like an air conditioner in reverse. It pulls heat out of the inside cabinet and dumps that heat outside. The condenser coils are where that heat gets released.
When coils are clean, heat escapes easily. When they’re coated in dust and debris, heat gets trapped. The compressor — the motor that drives the whole system — has to run longer to compensate. That’s extra wear and extra electricity.
Dust is the main culprit, but pet hair, cooking grease, and lint from nearby laundry rooms accelerate the buildup. Kitchens with pets or high foot traffic need more frequent cleaning.
Condenser Coils vs. Evaporator Coils: What’s the Difference?
Most people cleaning a fridge at home are cleaning the condenser coils. These are the exterior coils that release heat. They’re accessible without disassembling anything major.
Evaporator coils are located inside the freezer compartment behind a panel. They absorb heat from the food and air inside. These rarely need cleaning and are usually serviced by a technician.
This guide focuses entirely on condenser coils — the ones you can and should clean yourself.
Where Are the Coils Located on My Refrigerator?
Quick Answer: Refrigerator coils are in one of two places: on the back of the unit (older models) or underneath the fridge behind a removable front grille (newer models). Check the bottom front panel first — most fridges made after 2000 have coils there.
Coil location depends entirely on your refrigerator’s make, model, and age. There are two common configurations.
Bottom-Mounted Coils (Most Common)
Most modern refrigerators — including French door, bottom-freezer, and standard top-freezer models — have condenser coils mounted underneath the unit. They sit behind a snap-off or pull-off grille at the very bottom front of the fridge.
You can often see dust and debris around this grille without moving the fridge at all. That’s your first clue that cleaning is overdue.
Rear-Mounted Coils (Older Models)
Refrigerators manufactured before roughly 2000 often have coils mounted on the back of the unit. These look like a black metal grid or a coiled tube running along the back panel.
You’ll need to pull the fridge away from the wall to access them. No panel removal is required — they’re exposed.
How to Find Your Model’s Coil Location
If you’re not sure, check the owner’s manual or look up your model number online. The model number is usually printed on a sticker inside the door frame, near the top of the fresh food compartment.
What Tools Do You Need to Clean Refrigerator Coils?

Quick Answer: You need a vacuum with a brush or crevice attachment, a refrigerator coil cleaning brush, a flashlight, and optionally a dust mask. Most jobs cost nothing extra if you own a vacuum — a dedicated coil brush costs $8 to $15 at any hardware store.
| Tool | Purpose | Estimated Cost | Required? |
|---|---|---|---|
| Vacuum with brush attachment | Suction loose dust and debris from coils | Already owned | Yes |
| Vacuum crevice tool | Reach into tight spaces under the fridge | Already owned | Highly recommended |
| Refrigerator coil cleaning brush | Dislodge packed dust from between coil fins | $8 to $15 | Yes (for bottom-mounted coils) |
| Flashlight or headlamp | See into dark spaces under or behind fridge | $5 to $20 | Yes |
| Dust mask (N95 or basic paper) | Protect from dust and allergens during cleaning | $1 to $3 each | Recommended |
| Microfiber cloth | Wipe down grille and surrounding surfaces | $2 to $5 | Optional |
| Appliance dolly or furniture sliders | Move fridge away from wall without floor damage | $15 to $40 (rental available) | Only for rear-mounted coils |
What’s a Refrigerator Coil Cleaning Brush?
A coil brush is a long, narrow brush with stiff bristles — usually 24 to 36 inches long and about 1 to 1.5 inches wide. It’s designed to slide between the coil fins and loosen packed dust without bending or damaging them.
A regular vacuum attachment won’t dislodge compacted buildup. The brush loosens it first, then you vacuum it away. Common brands include Supco, Whitmor, and Frost King — all available at hardware stores and online.
How Do You Clean Refrigerator Coils Step by Step?

Quick Answer: Unplug the refrigerator, remove the access grille, use a coil brush to loosen dust, vacuum up the debris, replace the grille, and plug the fridge back in. The entire process takes 20 to 30 minutes for most households.
Step 1: Unplug the Refrigerator
Pull the power cord from the wall outlet before you do anything else. This removes all electrical risk while you’re working near the motor, fan, and coils.
Don’t skip this step. The condenser fan can start automatically even when the fridge seems idle. Unplugging is the only guarantee it won’t turn on while you’re working.
Step 2: Remove the Access Grille or Pull the Fridge from the Wall
For bottom-mounted coils: Locate the front grille at the base of the refrigerator. Most grilles either snap off by pulling straight toward you or lift up and out. No tools needed for most models.
For rear-mounted coils: Pull the refrigerator away from the wall by 18 to 24 inches. Use furniture sliders under the front feet to protect your floor. The coils will be visible on the back panel.
Step 3: Use the Coil Brush to Loosen Dust
Insert the coil brush into the coil area and move it back and forth in short strokes. Work from one side to the other, covering the full width of the coil section.
Go slowly. You’ll see dust and debris fall to the floor — that’s exactly what you want. Don’t apply heavy pressure. The goal is to dislodge buildup, not to bend the thin metal fins.
Step 4: Vacuum the Coils and Surrounding Area
Switch to your vacuum’s brush or crevice attachment and suction up all the loosened debris. Get into the corners and along the drip pan area if one is visible.
Move the vacuum nozzle slowly across the entire coil surface. If your vacuum has suction control, use a moderate setting — maximum suction can pull on the coil fins.
Step 5: Clean the Drip Pan (If Accessible)
Some models have a removable drip pan sitting just above the coils. This pan catches condensation from the defrost cycle. If it’s accessible, pull it out and rinse it with warm soapy water.
A dirty drip pan can produce unpleasant odors. It’s worth cleaning whenever you clean the coils.
Step 6: Wipe Down the Grille and Reinstall
Before snapping the grille back in place, wipe it down with a damp microfiber cloth. Dust and grease build up on the grille too, and they’ll block airflow if left in place.
Reinstall the grille by reversing how you removed it. Most snap back into place with firm, even pressure.
Step 7: Plug the Refrigerator Back In
Restore power and push the fridge back into position, leaving at least 1 inch of clearance on the sides and 1 to 2 inches at the back for airflow. The fridge will return to its normal operating temperature within 30 to 60 minutes.
How Often Should You Clean Refrigerator Coils?
Quick Answer: Clean refrigerator coils every 6 to 12 months. Households with pets, heavy cooking, or dusty environments should clean every 6 months. A fridge in a clean, pet-free home can go up to 12 months between cleanings.
| Household Condition | Recommended Cleaning Interval | Reason |
|---|---|---|
| Pet-free, low-dust home | Every 12 months | Minimal airborne debris accumulation |
| One or two pets (dogs/cats) | Every 6 months | Pet hair collects rapidly around coils |
| Multiple pets or long-haired breeds | Every 3 to 4 months | Heavy shedding clogs coils faster |
| High cooking frequency or greasy kitchen | Every 6 months | Grease particles bond dust to coil fins |
| Dusty environment or older home | Every 6 months | Higher ambient dust load enters coil area |
| Garage or utility room installation | Every 3 to 6 months | Increased exposure to dirt, sawdust, and debris |
How Do You Know the Coils Are Overdue for Cleaning?
Your refrigerator will usually tell you something is wrong before you check the coils. Watch for these signs:
- The compressor runs almost continuously or cycles on and off more often than usual
- The fridge feels warm on the sides or back even in normal conditions
- Food in the fridge isn’t as cold as it used to be despite the same temperature setting
- Your electricity bill has gone up without an obvious reason
- You can see visible dust or pet hair around the bottom front grille
Any one of these is a signal to check and clean the coils before you schedule a service call.
Can Dirty Coils Damage Your Refrigerator Permanently?
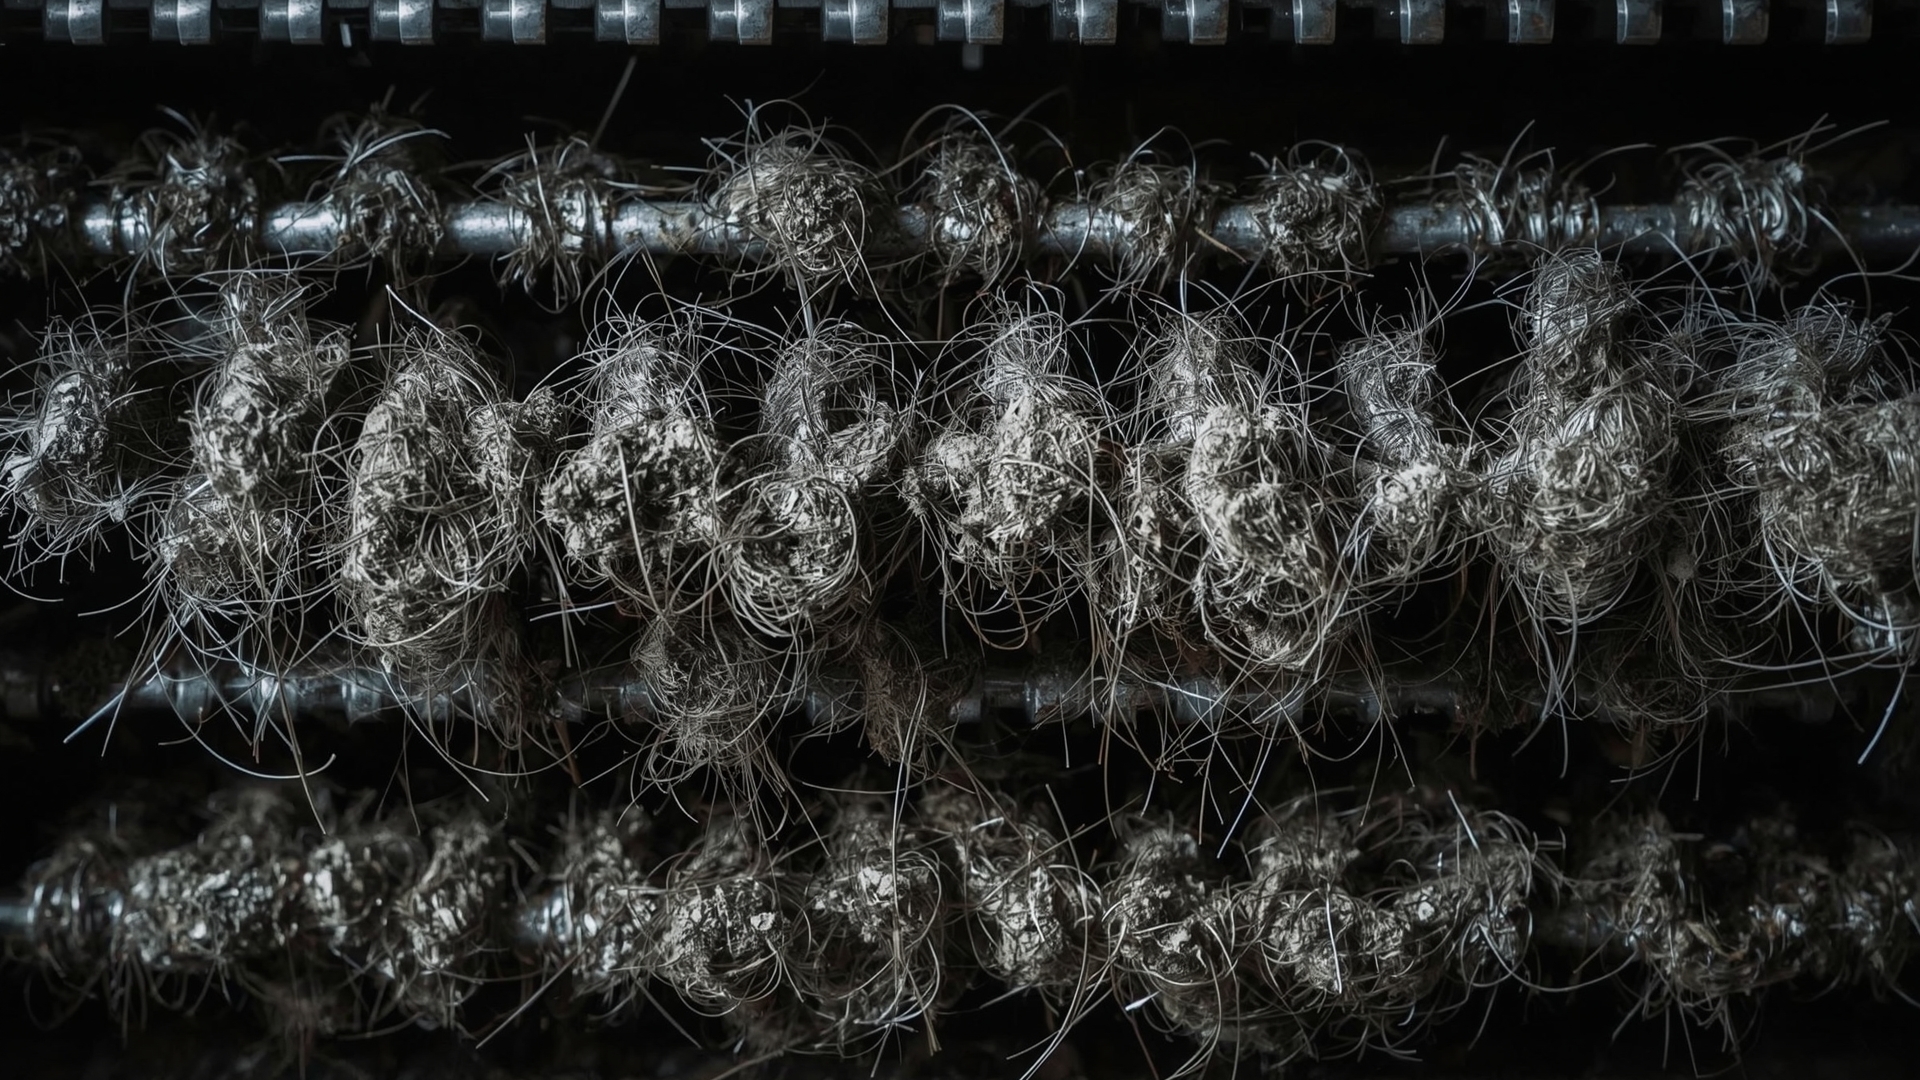
Quick Answer: Yes. Prolonged overheating from dirty coils can permanently damage the compressor — the most expensive component in a refrigerator, costing $200 to $650 to replace. Regular coil cleaning is one of the best ways to extend your fridge’s lifespan beyond its average 13-year service life.
The compressor is the heart of your refrigerator. It compresses refrigerant gas and drives the entire cooling cycle. When coils are clogged, the compressor stays on longer and runs hotter than it was designed to.
Heat is the main enemy of electric motors. Sustained overheating degrades the motor windings and seals inside the compressor. Over months and years, this shortens its life significantly.
Refrigerator compressors are typically not worth repairing once they fail — the part cost alone rivals the price of a new mid-range refrigerator. Prevention through regular coil cleaning is far cheaper.
What Does Compressor Failure Actually Cost?
| Issue | Estimated Repair Cost | Notes |
|---|---|---|
| Compressor replacement | $200 to $650 (parts + labor) | Often not cost-effective on older units |
| Condenser fan motor replacement | $60 to $200 | Often related to overheating from dirty coils |
| Refrigerator replacement (mid-range) | $800 to $1,500 | French door models run $1,200 to $2,500+ |
| Service call (diagnostic only) | $75 to $150 | Applies even if you decline the repair |
| Coil cleaning brush (prevention) | $8 to $15 | One-time purchase, reusable indefinitely |
Are There Any Safety Risks When Cleaning Refrigerator Coils?
Quick Answer: The main risks are electrical shock and dust inhalation. Both are easily avoided by unplugging the fridge before you start and wearing a dust mask. Sharp coil fins can also cut skin — handle the brush carefully and avoid reaching bare-handed into tight coil areas.
Cleaning coils is a low-risk DIY task when done correctly. The risks that do exist are predictable and preventable.
Electrical Safety
Always unplug the unit before removing the grille or reaching into the coil area. This eliminates the risk from the condenser fan, which can activate unexpectedly.
Don’t use water or liquid cleaners on or near the coils. Water and electrical components don’t mix. Stick to dry tools: brush and vacuum only.
Dust and Allergen Exposure
Years of accumulated dust, pet dander, and mold spores can become airborne when you disturb the coils. Wear a basic dust mask (N95 preferred) and open a nearby window if possible.
People with asthma or severe dust allergies should take extra precautions — a properly fitted N95 respirator and eye protection are worth using.
Back Strain from Moving the Fridge
Refrigerators weigh 150 to 300 pounds depending on model and size. If you need to pull the fridge away from the wall for rear-mounted coils, don’t do it alone. Use furniture sliders and get a second person to help. Appliance dollies can be rented from most hardware stores for $20 to $30 per day.
What Common Mistakes Should You Avoid When Cleaning Coils?
Quick Answer: The most common mistakes are forgetting to unplug the fridge, using water near the coils, bending the delicate coil fins by pushing too hard, and skipping the drip pan. All four are easy to avoid once you know what to watch for.
Mistake 1: Cleaning Without Unplugging
This is the most dangerous mistake. The condenser fan sits right next to the coils and can turn on at any moment. Always unplug before you start.
Mistake 2: Using Compressed Air Indoors
Compressed air (like canned air) blows dust off coils effectively — but it sends all that debris into the air and across your kitchen. Use a vacuum to capture debris rather than scatter it.
Mistake 3: Bending the Coil Fins
Coil fins are thin metal strips that sit between the coil tubes. They’re easy to bend with too much pressure. Bent fins reduce the coil’s surface area and make heat transfer less efficient — the opposite of what you want.
Use the brush gently. A light back-and-forth motion is enough to dislodge buildup.
Mistake 4: Skipping the Floor Cleanup
Dust and debris fall to the floor during cleaning. If you don’t vacuum it up before pushing the fridge back, it’ll get pulled right back into the coil area by the condenser fan. Always vacuum the floor under and around the fridge before finishing.
Mistake 5: Ignoring the Condenser Fan Blades
The condenser fan sits next to the coils and has its own blades that collect dust. While you have access, brush and vacuum the fan blades too. A dirty fan moves less air and reduces the cooling benefit of clean coils.
How Does Coil Cleaning Compare to Other Appliance Maintenance Tasks?
Quick Answer: Cleaning refrigerator coils is one of the easiest and highest-impact appliance maintenance tasks. It takes 20 to 30 minutes, requires no special skills, and prevents one of the most expensive appliance failures. Comparable tasks include cleaning dryer vents and descaling a dishwasher.
| Appliance Task | Time Required | Frequency | Cost to DIY | Failure Prevention Value |
|---|---|---|---|---|
| Refrigerator coil cleaning | 20 to 30 min | Every 6 to 12 months | $0 to $15 | High (prevents compressor failure) |
| Dryer vent duct cleaning | 30 to 60 min | Every 12 months | $20 to $50 | Critical (fire prevention) |
| Washing machine drum cleaning | 15 to 30 min | Every 1 to 3 months | $0 to $10 | Medium (prevents mold and odor) |
| Dishwasher filter cleaning | 10 to 15 min | Every 1 to 3 months | $0 | Medium (prevents poor wash performance) |
| HVAC filter replacement | 5 to 10 min | Every 1 to 3 months | $15 to $40 per filter | High (prevents motor burnout) |
Frequently Asked Questions About Cleaning Refrigerator Coils
Do all refrigerators have coils that need cleaning?
Yes. All refrigerators with a traditional compressor-based cooling system have condenser coils that require periodic cleaning. This includes top-freezer, bottom-freezer, side-by-side, and French door models. Compact mini-fridges also have coils, though they’re less likely to accumulate heavy buildup.
Can I use a regular duster or feather duster instead of a coil brush?
A regular duster won’t reach deep enough between the coil fins to dislodge packed buildup. It can help with surface dust on rear-mounted coils, but a dedicated refrigerator coil brush is the right tool for bottom-mounted coils. They’re inexpensive and reusable for years.
Will cleaning the coils make my refrigerator noticeably colder?
If the coils were significantly clogged, yes. A fridge struggling with dirty coils may run warmer than its set temperature. After cleaning, you may notice food staying colder longer and the compressor cycling less often. Temperature stability typically improves within a few hours.
Is it safe to clean coils on a refrigerator that’s still under warranty?
Coil cleaning is considered routine owner maintenance and is specifically recommended in most owner’s manuals. It will not void your warranty. Manufacturers typically expect owners to perform this task. Check your manual to confirm, but this is standard practice across all major brands including Whirlpool, LG, Samsung, GE, and Frigidaire.
What happens if I accidentally bend a coil fin?
A few slightly bent fins won’t cause major performance issues. If multiple fins are bent flat, a fin comb — a tool designed to straighten them — can be purchased for $10 to $20. Serious fin damage is rare with gentle brushing technique.
Should I hire a professional to clean my refrigerator coils?
Coil cleaning is a straightforward DIY task that most homeowners can handle without any technical background. The only reason to hire a professional is if the fridge is in an extremely difficult location, or if you’re already scheduling a service call for a related issue. A professional appliance technician typically charges $60 to $100 for this task alone.